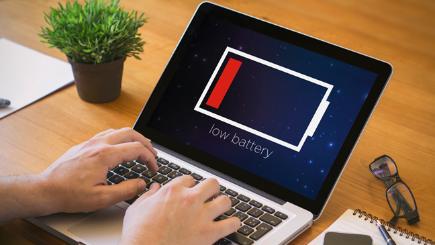
10 tips for better notebook battery life with Windows 10
Does your laptop have a short battery life blues? If you have updated the Windows 10 for the fall creator update, then you have a new tool to help extend the running time of your laptop. I’ll introduce this new tool and some real battery saving techniques.
Turn down display brightness
Powering all of those pixels in the display is the single greatest drain on battery resources. The first item to check when you are experiencing troublingly short battery life is your display brightness. If you’ve got it turned up all the way or near the max, then lower the brightness; you might also find it a more comfortable computing experience to your eyes.
Your laptop likely has two Function keys mapped to display brightness. If not, you can find a brightness slider by going to Settings > System > Display. You’ll also find a slider for display brightness in the Windows Mobility Center, which is buried in the Control Panel; the easiest way to find it is just to search for it.
Paint it black
A bright desktop background requires your display’s pixels to light up more, when requires more juice. Choose a dark picture or color by going to Settings > Personalization > Background.
Turn off keyboard backlights
Like the display, keyboard backlighting also drains your Hp pavilion dm4 laptop battery. Turn them off when they aren’t needed. Your laptop likely has a Function key that lets you toggle the keyboard backlights on and off. If not, you’ll find a control for it in the Windows Mobility Center.
Introducing the new battery slider
OK, now here’s the new battery tool. Fall Creators Update has made it easier to switch between power modes. Instead of digging into the battery page in settings to switch from high performance to battery saver mode or vice versa, you now can just click or tap the battery icon in the taskbar. You’ll be able to move a slider from Best battery life to best performance or a balanced mode in between.
Check power and sleep settings
Dig into Power & sleep settings by clicking its link in the battery menu from the taskbar (or by going to Settings > System > Power & sleep), and you can shorten the time before the display turns off or your laptop goes into sleep mode when it’s running on battery power. The shorter you set these times, the longer your battery will last.
Use Battery Saver
Windows 10’s built-in Battery Saver mode activates when your remaining battery dips below 20 percent. It disables email and calendar syncing, push notifications, and apps from running in the background. It should be enabled by default, but check to make sure it is by going to Settings > System > Battery. If you find that Battery Saver doesn’t disrupt your regular Windows habits, then you can raise the threshold for when it activates above 20 percent.
Check Battery usage by app
You can see which apps are using the most battery resources by Settings > System > Battery and click Battery usage by app. The list will show you the percentage of battery your apps have used in the past 6 or 24 hours or the past week. If you find an app that you think it using more than its fair share, click on it and toggle off the switch for Managed by Windows and then make sure the box remains unchecked for Allow app to run background tasks.
Turn off Bluetooth and Wi-Fi when not needed
These wireless networking technologies consume power. You can disable both by using Airplane mode. Click the Wi-Fi icon in the taskbar and then click the Airplane mode button. You can also disable only Wi-Fi by clicking the Wi-Fi button on the taskbar Wi-Fi menu. To disable Bluetooth, go to Settings > Devices > Bluetooth & other devices and toggle off the switch for Bluetooth.
Sync email less
Constantly checking for new email messages can drain your battery. So, tell Windows to check less frequently to extend the life of your battery. Go to Settings > Accounts > Email & app accounts. Click on your account, click the Managebutton and then for Download new content, switch it from as items arrive to every 30 minutes, hourly or manually and then click Done.
Did you enjoy this post? Why not leave a comment below and continue the conversation, or subscribe to my feed and get articles like this delivered automatically to your feed reader.


Comments
No comments yet.
Sorry, the comment form is closed at this time.